Last Thursday’s post was about a lonely bowl that needed something more.. That more was a handy cover to keep it’s contents secure. There are Three ways to get one for yourself… 1. Win it!!! 2. Buy it, or 3. Make it!
Here is the Make It tutorial I mentioned last week.
What you need.
- large enough piece of paper to trace your bowl and add 3″, I used a paper bag.
- 2 pieces of cordinating fabric large enough for your bowl measurement.
- pins
- 1.4″ elastic long enough to to go around the outside of your bowl.
- sewing machine and matching thread.
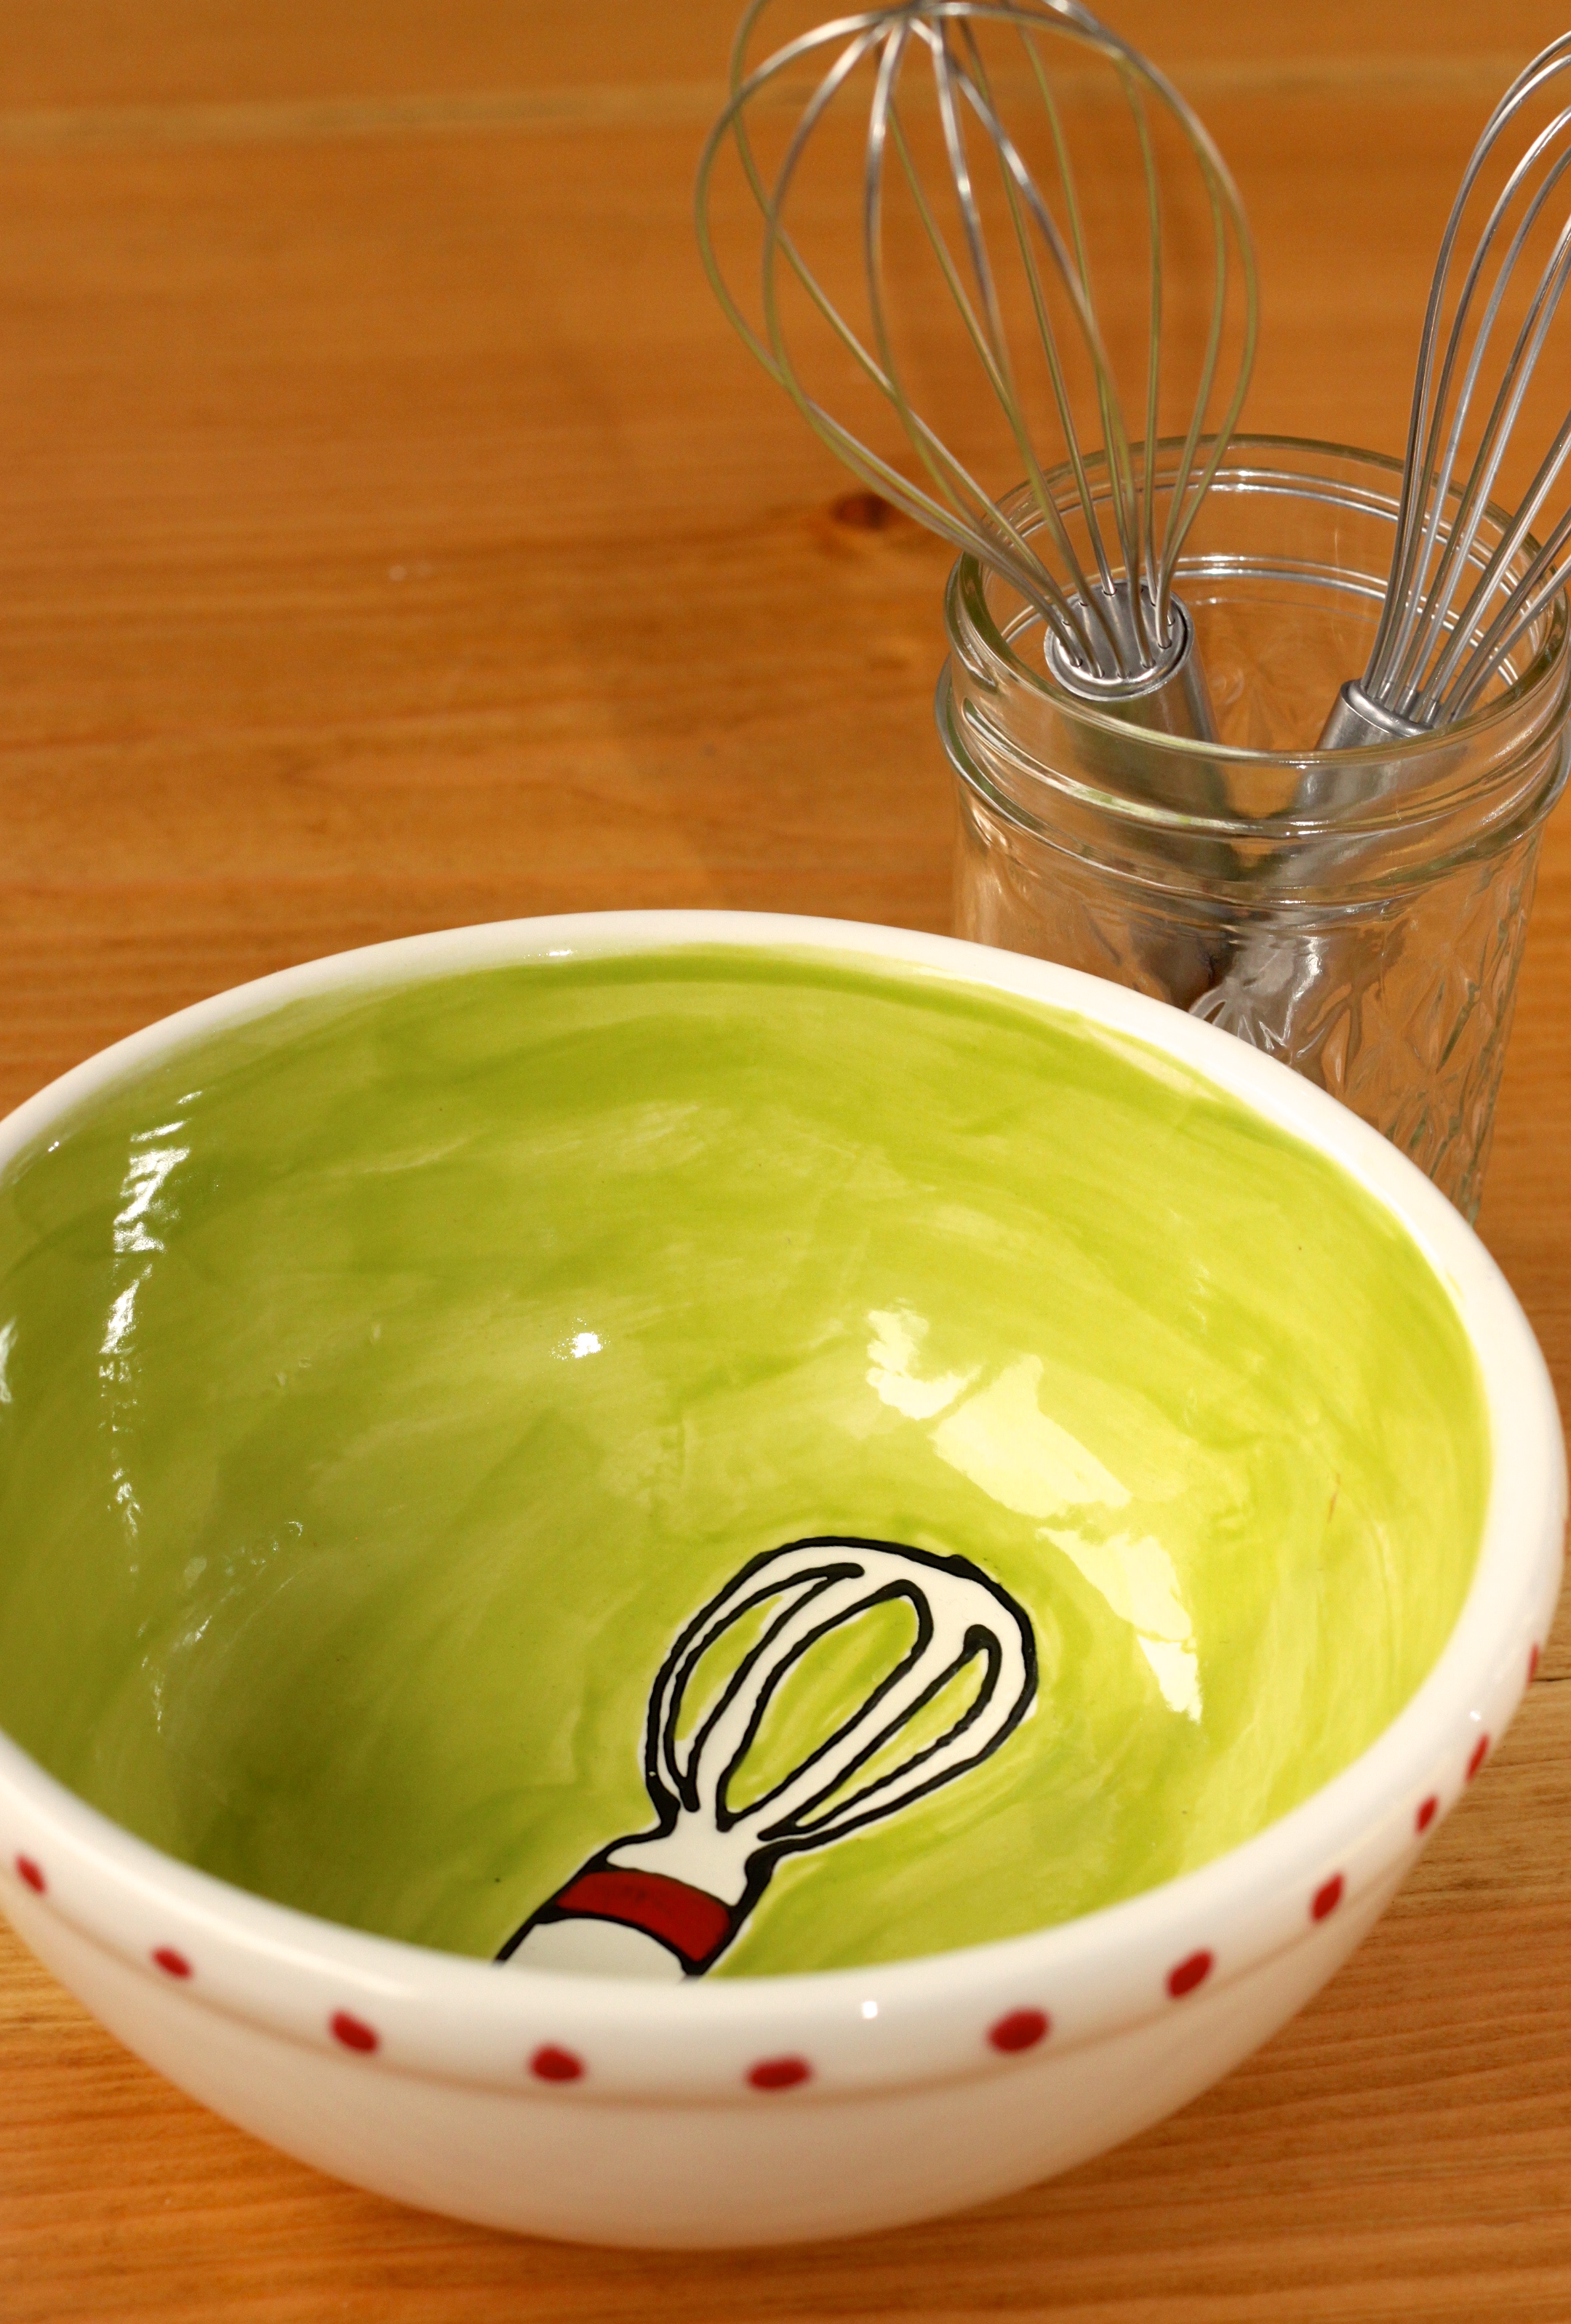
First find the Bowl you want to cover/protect, I started off with a slightly smaller 6.5″ bowl and that way it could fit multiple sizes.
Flip it up side down, center it on your piece of paper and trace the outside, then mark three inches all the way around it. This is your pattern.
Cut two pieces of preshrunk cotton fabric using your pattern.

With right sides together sew them together using a 1/3″ seam allowance and leaving a 1.5″ opening.

Press both seams open at the 1.5″ opening and continue to press one of the seams open towards the centre of your cover… pressing now will save time later.

Pull the two pieces right side out. Press the seams flat and crisp. and make sure to repress your opening.Because you already pressed it on the inside the outside is that much easier.

From the edge of the pressed seam, sew 1/3″ seam all the way around. You have now created a case for your elastic.

Figure out where you want your elastic to sit on your bowl and measure the diameter. You want it tight but not too tight … if you use a smaller bowl and leave it a snug but still a bit loose you can use it on larger bowls too! Cut your elastic + 1/2″ for over lap. Or skip this step for now, leave your elastic much longer than you need.
Feed the Elastic through, keeping it flat and don’t pull it all the way, when you get to the end over lap the elastic and sew it together. I like to lay my elastic one over the other I think it makes it flatter, rather than pinching them together and sewing across. If you have left a long piece of elastic, measure it against the bowl where you want it to sit, pull through, over lap and cut.

Once the elastic is through take some time and evenly distribute the casing so that you have even puckering. When you are happy sew the open seam closed as close to the edge as you can. You want to avoid sewing through the elastic but it is not the end of the world if you do. I pull the elastic straight so that the two edges are flat as they go under my presser foot.

Voila You are done… pretty much what you should have is something that looks like a shower cap… It is not water resistant, but it is washable so if you do get some food on it just throw it in machine. Use it to cover your mixing bowl in between steps, to transport goodies to a potluck, or to keep bugs away at a picnic. This would be a good beginner project.
Don’t forget to enter to win one and the fancy bowl shown in the first image, or you can buy one in my shop in Kitchen Accessories Section
Any Questions, leave me a comment or contact me at akitschykitchen@gmail.com


Pingback: November 10 ~ Eco-Friendly Gifts | Sew Mama Sew |
How do you measure 1/3 of an inch? I know it’s less than 3/8 and more than 1/4 – do you just eyeball it?
Hi, Sorry for the delay… was having trouble logging in but I have answer!!! I eyeball it… I know that my needle to outside of my foot is about 1/3″ and it is perfect distance for making 1/4″ casing for my elastic.Long story short I line the edge of fabric up with my presser foot… Some machines have all of these measurements on them… mine does not, it is 20+ yrs old…
🙂 I kinda figured it was something like that. I’m thinking this will be a good thing to put in my mom’s Christmas stocking.
Pingback: Currently Loving | Palmer & Brown
I LOVE it. This is such a nice way to personalise your kitchen with your favourite fabrics 🙂
Very smart. ty for showing us this great idea. Merry Xmas
Merry Christmas & happy holiday season.
These are great. I’m going to try to make them even though my sewing is still not great. I always mess up with elastic. But, this looks like something I can do. Thanks for sharing!
I think they are a perfect beginners project, they help you think working inside out, good practice for casings and they are quick to make! Cheers!
So clever! You can use these covers all year around, I buy those cheap plastic ones that tear, never thought about making them, but thank-you for sharing this idea. Hope you don’t mind but I shared your link & post on my biz face book fan page for my readers.
They are great for year round! And have so many uses! Glad you like them! Cheers.
Thanks for the tutorial! I want to make these as gifts, but I also want one to cover my mixing bowl on my stand mixer. So tired of that bowl getting dusty!
Pingback: Reusable Food & Bowl Covers | Green Guerrilla Sustainability
Pingback: Reusable Food & Bowl Covers | Green Guerrilla Sustainability
I Googled “how to make elastic lid covers for bowls” and I arrived at your blog. I appreciate your clear instructions! I just completed a fabric cover for my Rachel Ray compost bowl, it turned out perfect! I like that it is reversible; it matches my red kitchen and I can turn it over in the fall and show pumpkins. Thanks again for your time and generosity.
Pingback: Sunflower Bandana Sewing Projects
this might keep bugs out, but to truly keep the contents fresh and preserve for a few days (in a fridge), it needs a plastic or sealed fabric cover. Make the fabric, but line it with plastic. Otherwise, you might as well throw a towel over it and be done with all the sewing.
Pingback: Zero-Waste DIY Projects. – zerowastewandsworth
I just cut out some white cotton to make a cover for my large bread making bowl. Great to use for the dough rising stage instead of greased plastic wrap. Thanks for the great tutorial!
Pingback: Make your Own Bowl Cover: Tutorial – sewing mania club
Pingback: 32 Great Things To Sew For Your Kitchen - DIY Joy
Sporting jewelery that includes the Sacred Geometry patterns
is a perfect means to increase harmony, healing, self-balance, love,
unity, oneness and sweetness https://math-problem-solver.com/ .
At first glance a piano is a graceful wanting instrument that
adds d¨¦cor to any residing room.
Pingback: 50 Sewing Projects for Beginners
Pingback: 101 Sewing and DIY Sewing Projects - www.adizzydaisy.com #adizzydai ... - Fabric Craft for Sale - #adizzydai #Craft - Fabric Crafts for Diy and Crafts
Pingback: 10 Things to Sew For Your Kitchen – My List of Lists
A simple easy sewing tutorial to make fabric bowl covers. … Learn how to make pretty fabric bowl covers to protect your food as an alternative to plastic … I will also make a few for myself, as I use a lot of my own bowls at home.
Hola Chris, acabo de terminar tu revisión y he aprendido algunas cosas. He estado usando Jaaxy desde hace unas semanas pero aún no he usado todas las características de las que hablas. El análisis de búsqueda es una de las cosas que no he usado todavía y después de leer tu revisión tendré que revisarla. ¿Qué tan útil le parece? ¿Es más para cuando estás empezando o es bueno seguir revisando?
Pingback: 6 Straightforward Swaps for a Extra Eco-Pleasant House - Flimbeer.com. All rights reserved.
Pingback: 6 Simple Swaps for a Extra Eco-Pleasant House - Municipal Fitness
Pingback: 6 Easy Swaps for a More Eco-Friendly Home - Sunshine Mag
Pingback: 6 Simple Swaps for a Extra Eco-Pleasant House - beautyhealth.fit, All rights reserved.
Pingback: 6 Simple Swaps for a Extra Eco-Pleasant House - Promoting Health & Wellness
Pingback: 6 Simple Swaps for a Extra Eco-Pleasant Dwelling - Cures Health
Pingback: 6 Pertukaran Mudah untuk Rumah yang Lebih Ramah Lingkungan – Ayo Kita Sehat
Pingback: 6 Simple Swaps for a Extra Eco-Pleasant Residence - Health Recommendations
Pingback: 6 Straightforward Swaps for a Extra Eco-Pleasant House - HEALTH PAP
Pingback: 6 εύκολες εναλλαγές για ένα σπίτι πιο φιλικό προς το περιβάλλον – Ιστολόγιο
Pingback: 6 Easy Swaps for a More Eco-Friendly Home | Woman Unique Health
Pingback: 6 مقايضات سهلة لمنزل أكثر صداقة للبيئة - اكسترا صحة
Pingback: 6 Easy Swaps for a More Eco-Friendly Home - Care Health
Pingback: 6 Easy Swaps for a More Eco-Friendly Home - thescotchandvine
Pingback: 6 Easy Swaps for a More Eco-Friendly Home – Counsumer Health
Pingback: 6 Easy Swaps for a More Eco-Friendly Home – Nflammation
Pingback: 6 Easy Swaps for a More Eco-Friendly Home – I Love Friut
Pingback: 6 Easy Swaps for a More Eco-Friendly Home